
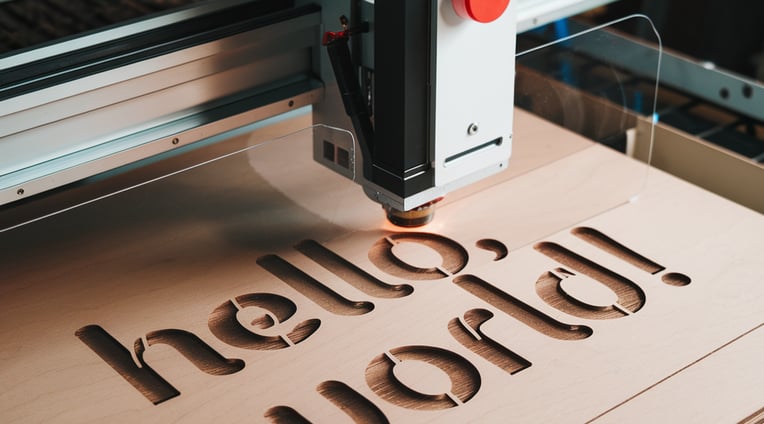
UNDERSTANDING LASER FUNCTION FUNDAMENTALS
Laser cutting offers incredible precision and creativity, but to use it effectively, you need to understand the basics. In this article, we'll break down key laser functions to help you get the most out of your cutter. Laser Cutters include three primary functions: engraving, cutting, and scoring. Each of these functions serves a different purpose in creating your final product.
9/20/20243 min read


ENGRAVING FUNDAMENTALS
Engraving is the process where the laser removes a small portion of material from the surface to create a recessed design. It’s great for adding fine details, such as text, logos, or intricate patterns.
How it works:
The laser moves back and forth (similar to an inkjet printer) and removes material layer by layer.
The depth and appearance of the engraving depend on the power, speed, and the number of passes made by the laser.
When to use it:
Personalizing items with names, dates, or messages.
Adding decorative patterns or text that should not cut through the material.
Best materials for engraving:
Wood (gives a rustic, detailed finish).
Acrylic (creates a smooth, clean recessed look).
Leather (for a deep, burned design).
Paper or cardstock (for intricate details without cutting through).
Pro Tip: Engraving at higher speeds with lower power will result in a lighter engraving, while slower speeds with higher power produce deeper, darker engravings.
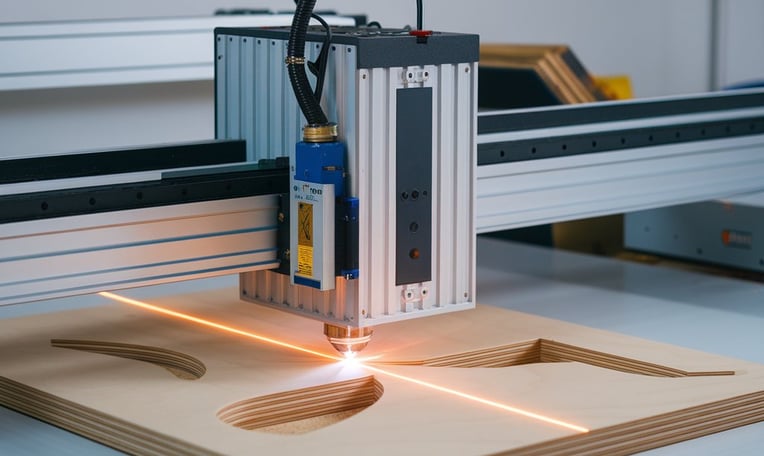
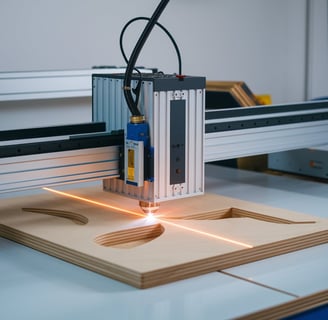
CUTTING FUNDAMENTALS
Cutting is the process where the laser slices through the entire thickness of the material, allowing you to create individual pieces from your design.
How it works:
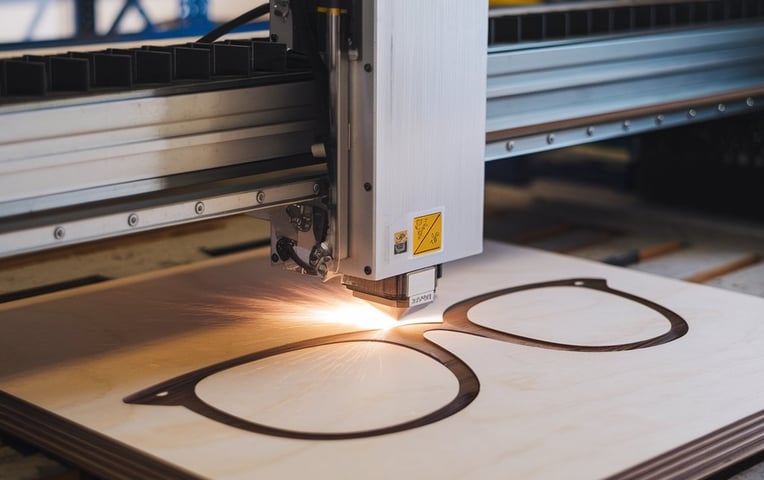
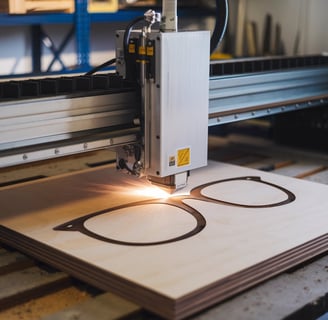
The laser beam focuses a high amount of energy on a single point, burning through the material completely along the specified cut lines.
Cutting is usually done on thicker or more rigid materials like wood, acrylic, or leather.
When to use it:
Creating shapes or outlines of your design that need to be fully separated from the material.
Projects like coasters, ornaments, or keychains where the design is cut out.
Best materials for cutting:
Thin wood sheets (such as plywood or MDF).
Acrylic (creates clean, polished edges).
Leather (for custom patches or decorations).
Cardstock or thick paper (for intricate cutouts).
Pro Tip: To get a clean cut without burning or scorching the material, balance the laser’s speed and power. Higher speed with appropriate power minimizes burn marks on delicate materials like wood.
Material Thickness Impact on Cutting/Engraving Quality
The thickness of the material you’re working with directly impacts how your laser cutter performs, especially when cutting or engraving. Here’s how:
Material Thickness and Cutting
When cutting materials with your laser, the thickness determines how much power and how many passes are needed to completely cut through the material.
Impact of Thickness:
Thin materials (1-3 mm): Thin wood, acrylic, or leather will cut quickly and cleanly with lower power and higher speeds. However, too much power or too slow a speed can result in burn marks, especially on wood.
Thicker materials (4-6 mm and above): Thicker materials require more power and slower speeds to ensure the laser cuts all the way through. Multiple passes may be necessary for thicker materials, but this can cause some burning or charring on the edges. Using masking tape or adjusting air assist settings can help reduce this.
Tips for Cutting:
Multiple passes: For thicker materials, use multiple passes at lower power to reduce charring or burning.
Air assist: If your laser cutter has an air assist feature, use it to blow away debris and smoke, leading to cleaner cuts.
Material Thickness and Engraving
When engraving, thicker materials allow for deeper engravings without cutting through, while thin materials require more careful power settings to avoid damage.
Impact of Thickness:
Thin materials (1-2 mm): If engraving on thin wood, acrylic, or paper, use lower power settings to avoid cutting through or warping the material. Thin materials like cardstock may need very light engraving to prevent tearing or scorching.
Thicker materials (3 mm and above): Thicker materials, such as wood or acrylic, can handle deeper engravings. You can use higher power settings and even multiple passes to achieve a more pronounced engraved look without worrying about cutting through.
Tips for Engraving:
For deeper engravings on thick materials, increase power and lower the speed.
On thinner materials, use lower power and higher speed to prevent excessive burning or cutting.